Club Touareg Forum banner
1 - 16 of 16 Posts

mjw930

· Registered
Joined
·
161 Posts
Discussion starter · #1 ·
Has anyone done the OEM hitch install on a T2 ('08 and up)? I have the instructions that were posted online but they look like they are for the older model. I'm just wondering if the entire right side interior panel needs to come off on the T2 and if there's any secret handshake to getting that panel off?

I suppose I could wait for my hitch to arrive to see if they updated the instructions.....
 
I pulled off the entire panel. It was a fairly simple install. The only issue that arose was i needed to take a wire brush to the new bolts. There was blue lock tight on them and I wasn't able to get the bolts all the way in.
 
Discussion starter · #3 ·
Any secrets to pulling the panel off? From the bottom, top, side? Any screws or clips to break?

Usually there's a way they are designed to be removed just like the tail lights, I'm just trying to find that out.
 
It's been a few months, but from what I can recall It was all clips. You pull off the panel on the right side where the CD changer would go and start there. I seem to remember someone saying you could reach all the stuff from just removing that panel, but I was unable to. The panel that contains the defrost vent for the rear side window pulls up and out. If you can imagine the clips go perpendicular to the ground. So you have to take the panel "up and out". One thing I remembered is having to remove some of the cloth panel on the D pillar to get it out. I might not have, but I got it all dirty, so make sure your hands are really clean. There is already a grommet waiting for the wiring on the right hand side.

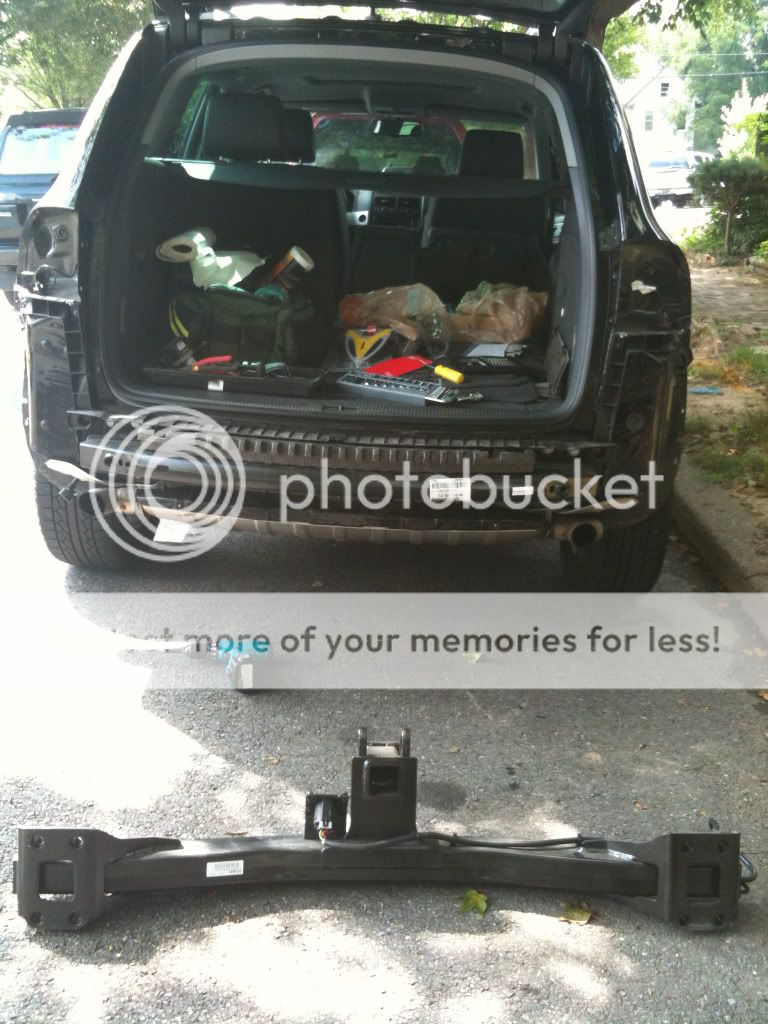
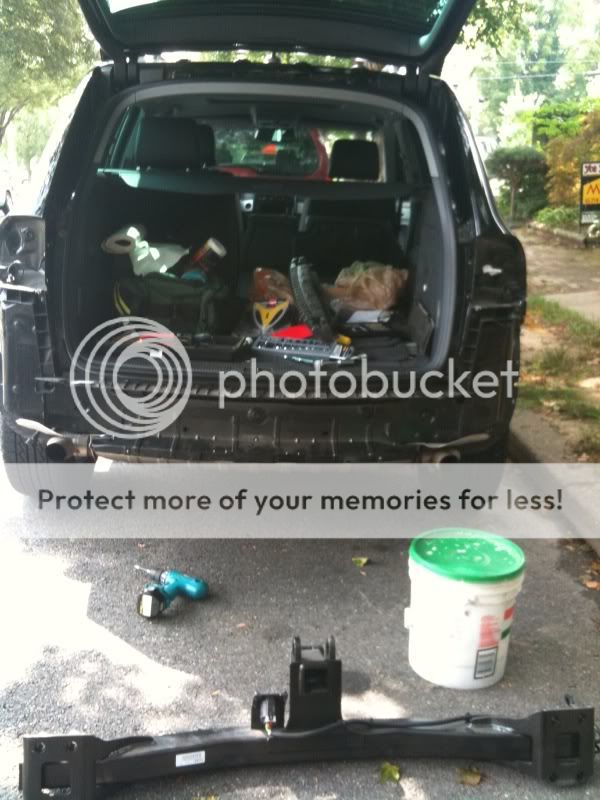
The plugs are a idiot proof and I did the install unassisted in a few hours. A friend would help because of the awkwardness of the hitch assembly, but a 5 gallon bucket was the perfect height to hold it in place. There is a Styrofoam piece that needs to go on top of the hitch to act as a cushion for vibration dampening I guess. It has some double sided tape on it. Make sure you look at the bumper you're pulling off to see how it goes back on.

The only error I made with the install was not hooking the parking sensors back up which required me taking the bumper off again.

Also it's a little tight to get the torx screws out in the wheel wells, but I found a ratchet at Sears that is made for 1/4 bits. It is the bees knees. It came in a 3 pack with +25 offset, -25 offset and 0 offset. An invaluable tool for close quarters.

Good luck with the install and if you need any more help I'm happy to accept a plane ticket.

Image


Image

Here you can see the grommet on the right side and the non-hitch bumper you'll need to remove.

Image


Image

Finished Product
 
Discussion starter · #6 ·
Ok, I took a closer look and it's still not obvious to me how that side panel comes off. I found a screw in the track for the cargo cover and it looks like the bolt the seat latches into is also retaining the cover panel but when I try to work the panel loose it doesn't budge. The last thing I want to do it break it so if someone has a copy of the service manual or the Bentley manual that describes how this comes apart it would be great if you could scan those pages and post them.
 
I took the seat latch bolt out as well as the phillips screw. You will also need to pull out the rear deck cover and side tie down panel (passenger's side) to access the screws at the bottom of the side panel that screw into the body. You should have enough access at this point to install the module and make all necessary connections.
 
Discussion starter · #8 ·
I took the seat latch bolt out as well as the phillips screw. You will also need to pull out the rear deck cover and side tie down panel (passenger's side) to access the screws at the bottom of the side panel that screw into the body. You should have enough access at this point to install the module and make all necessary connections.
Great, that's what I was hoping to hear. I figured there were screws along the bottom, it's to firm to be simple clips. I was also hoping I could pivot it out from the bottom to give enough clearance through the opening to reach in and mount the module and it sounds like that's the case. Thanks.
 
Make sure you pop out the top and side trim pieces for added flexibility. It took me about 2.5 hours and I just took my time and didn't rush it.
 
Discussion starter · #10 ·
Make sure you pop out the top and side trim pieces for added flexibility. It took me about 2.5 hours and I just took my time and didn't rush it.
By top I assume you mean the window vent area and by side I guess you mean the cloth corner piece that joins the cover to the roof trim on the rear vertical pillar? The front vertical trim piece houses an airbag so I'm really leery about messing around with that too much.

Like you said, I'll just take is slow and see what's obvious as I get into the disassemble.
 
By trim, I mean the horizontal piece that you stare at after opening the tailgate and the vertical piece on the passenger's side. There is no need to take out anything else forward of that. Stay away from the airbag pillars.

BTW, I was just in Jax and Orlando over Xmas visiting family....I could have stopped by and helped you knock it out.
 
Discussion starter · #12 ·
By trim, I mean the horizontal piece that you stare at after opening the tailgate and the vertical piece on the passenger's side. There is no need to take out anything else forward of that. Stay away from the airbag pillars.
Got it, pop the rear panels that engage the side panel to allow it to move freely so with the bottom screws and the seat bolt out it can be moved enough to get into the area where the module gets installed. Perfect.

Thanks for the offer but the hitch just showed up today and I probably won't get a free day to install it for a couple weeks. BTW, I'm not concerned about doing it, I've been tearing apart and putting back together cars for decades, I just wanted to tap into the collective knowledge to see if there were "gotcha's" or cheats to make the job easier.
 
Put a little mark or tape on the large seat latch bolt so your seat engages correctly with very little adjustment after reinstalling.
 
Discussion starter · #14 ·
Put a little mark or tape on the large seat latch bolt so your seat engages correctly with very little adjustment after reinstalling.
It looks like a bolt with a jam nut so I assume you mean back off the nut, mark the bolt's depth then unscrew the bolt. Screw it back into the point you marked, remove the tape then tighten the jam nut?
 
1 - 16 of 16 Posts