

At least I think it's a lux. LOL
OK...here's the beginning (stock):
Door speaker locations:
![Image]()
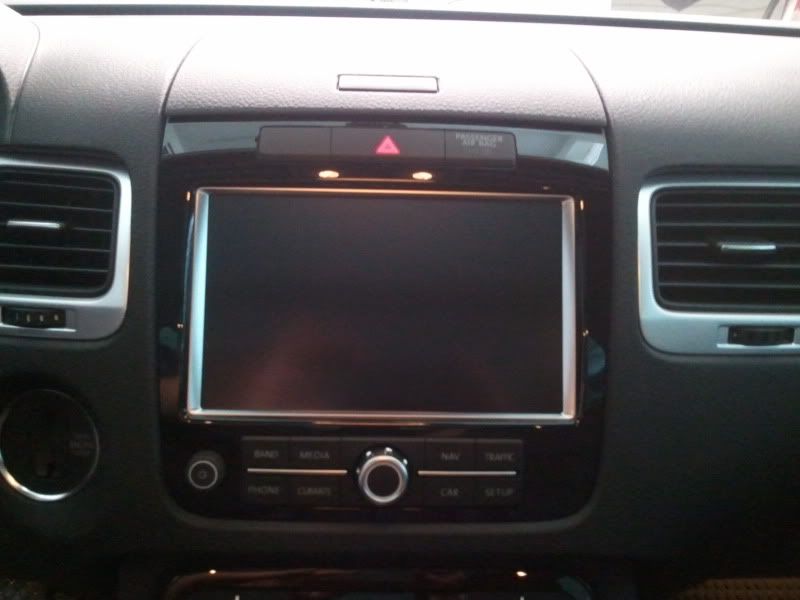
Factory HU, RNS850.
![Image]()
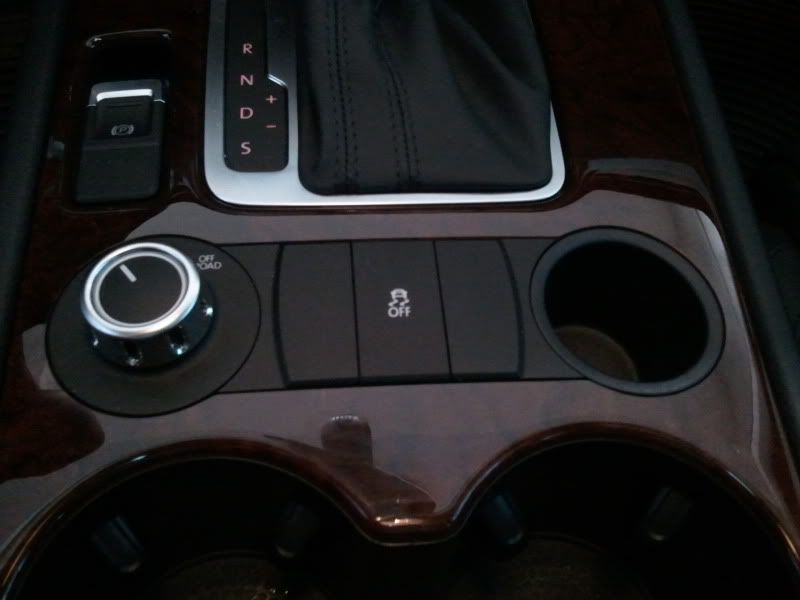
Center Console:
![Image]()
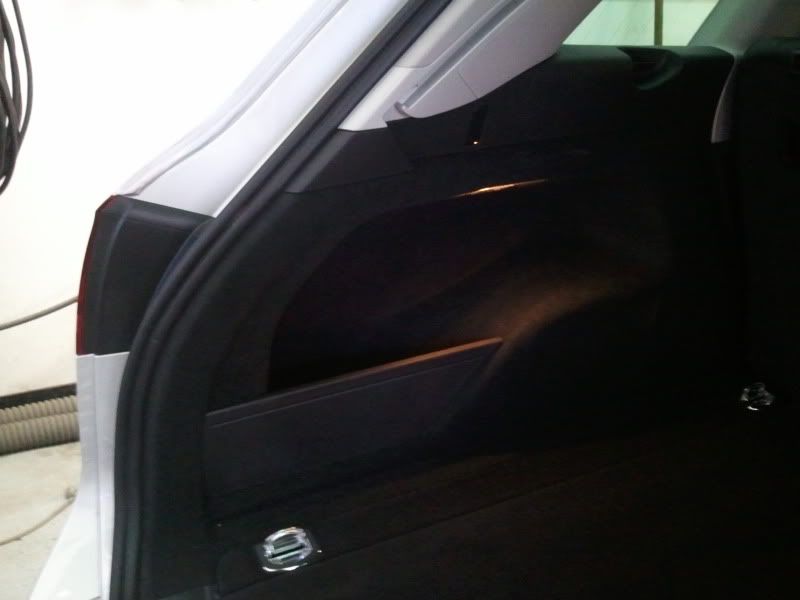
Rear Hatch:
![Image]()
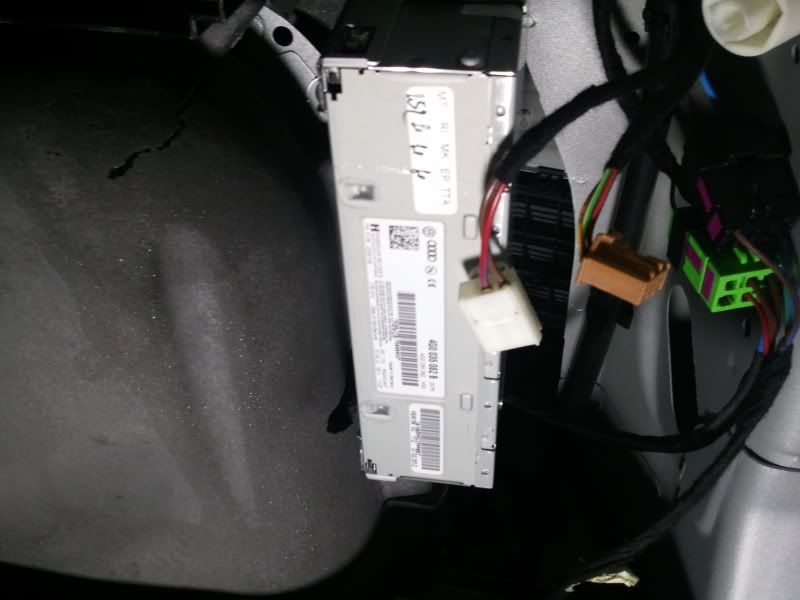
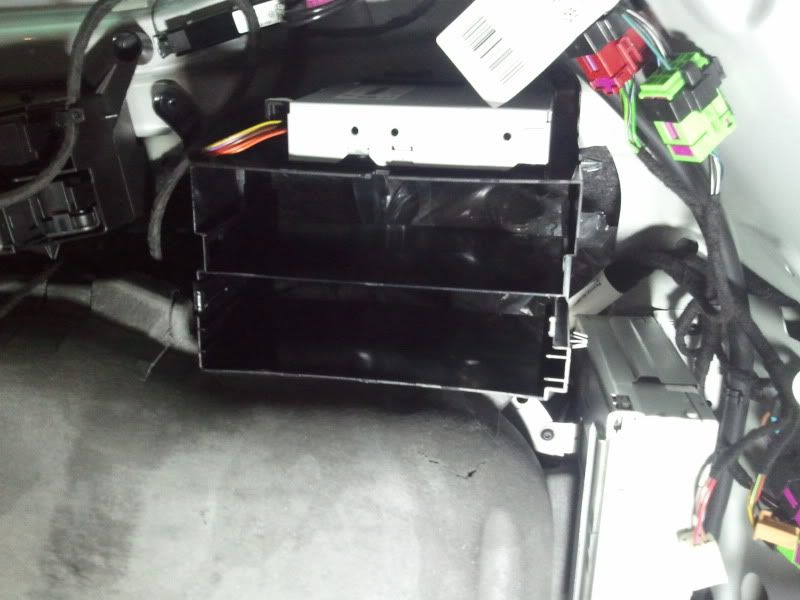
Factory (non-amplified) HU brain, in front of right tail light.
![Image]()
Empty plastic Din slots:
![Image]()
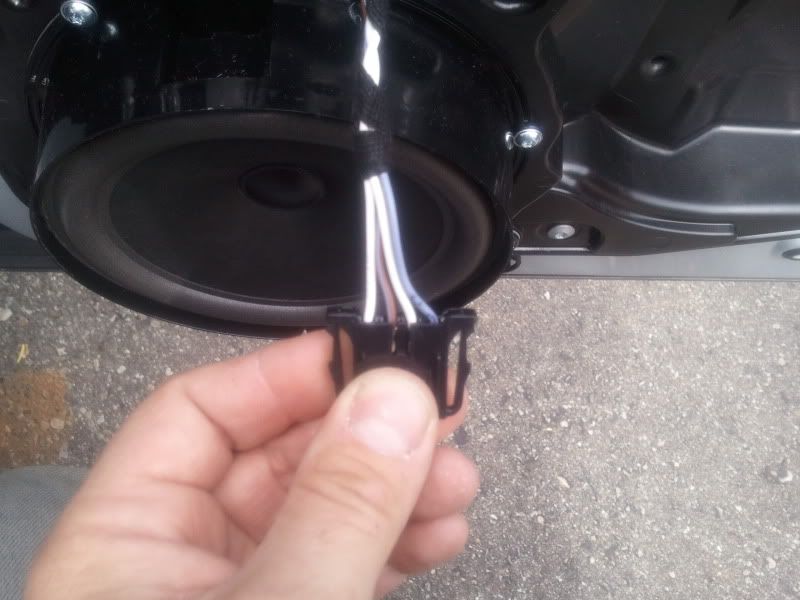
Factory Speakers:
![Image]()
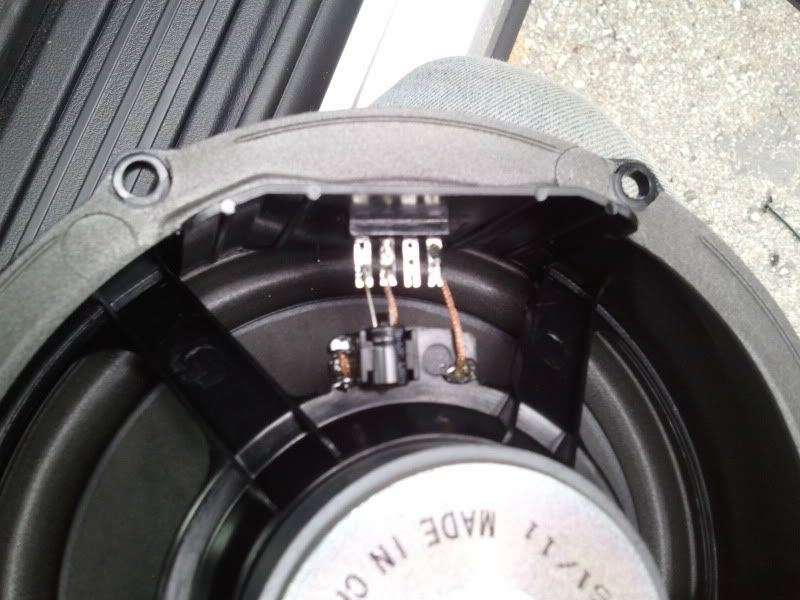
Factory "crossover"
![Image]()
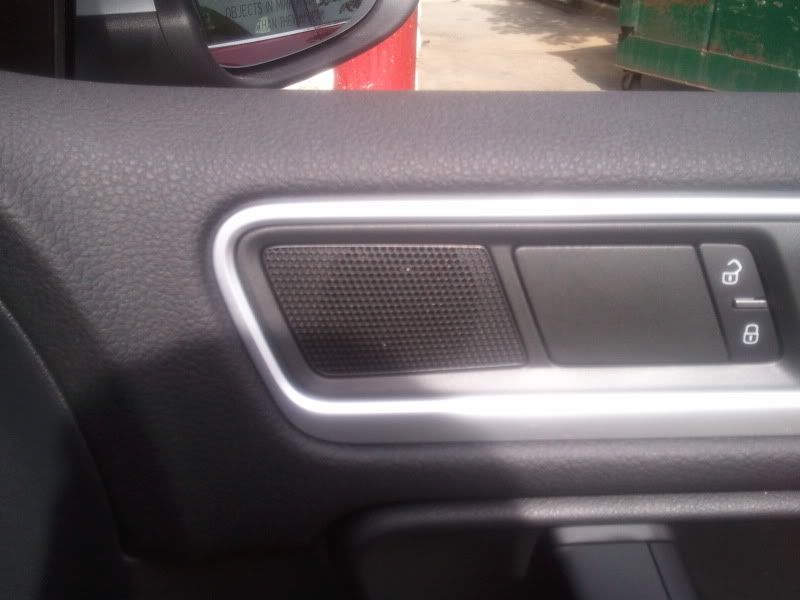
Factory tweeter location:
![Image]()
That's where we started.
Jay
OK...here's the beginning (stock):
Door speaker locations:

Factory HU, RNS850.
Center Console:
Rear Hatch:
Factory (non-amplified) HU brain, in front of right tail light.
Empty plastic Din slots:
Factory Speakers:
Factory "crossover"
Factory tweeter location:
That's where we started.
Jay


